Translate

Showing posts with label necklaces. Show all posts

Friday, April 17, 2015

Out of The Myths

I have been reading a sci-fantasy series that has recently inspired me in the jewelry making arena.  The author suggests that all our lore and legends are based in some reality and the gods, goddesses and demi-gods of old myth are actual living beings. Some from here and some from other "realms," or what we would call dimensions. It's an interesting thought. So I have a goal to create a line of pendants and/or earrings to represent the gods and goddesses of myth and legend; Out Of The Myths.

With all the ideas bouncing around in my head for this, I was actually able to get into my craft room last night and play. It was my first time making a pendant and I learned a few things. Such as, you need to make the tab a little longer if you're going to create your own bail. Also, it helps to have a good set of bail making pliers on hand (I have a pair of small-bail Wubbers on hold in Amazon...) but I really like my first attempt, even if it's not perfect. It's called The Heart Of Hades.

Have a look:

This is when I realized I needed to take pics! Duh! I'd added on
three layers of Iced Enamels faux enamel in Ruby & Pewter, then
cut a small bit of Sterling, lead-free solder, flattened it, and filed it
to form a heart. I was able to attach it using the same heat gun I'd
used to melt the faux enamel. It's on there quite firm.

This is after I'd attempted to fold/roll over the tab. As I said, it
wasn't quite long enough. Next time, though. I was still able
to string it on a chain and am wearing it today, regardless.

I decided I didn't want the back to be plain ol' metal so I painted
red & black acrylic paints in to mimic the front. I chose the black
as the flame-like portion - after all, we're dealing with Hades,
ruler of Tartarus and lord of the Dark... well, in our mythology.
In the series I'm reading, he's the world's top necromancer and
he and Persephone are perfectly in love and her mother, Demeter,
is a selfish, egomaniacal, narcissistic human who is jealous of
anyone who can command magic.
So, after everything was how I wanted I sealed both sides (one at a time) with Resin spray. It gives it a glossy look not fully captured by my smart phone, but,  hey, it's still got good color.

So, what's inspired you, lately?

Monday, April 9, 2012

Pirate Swag!

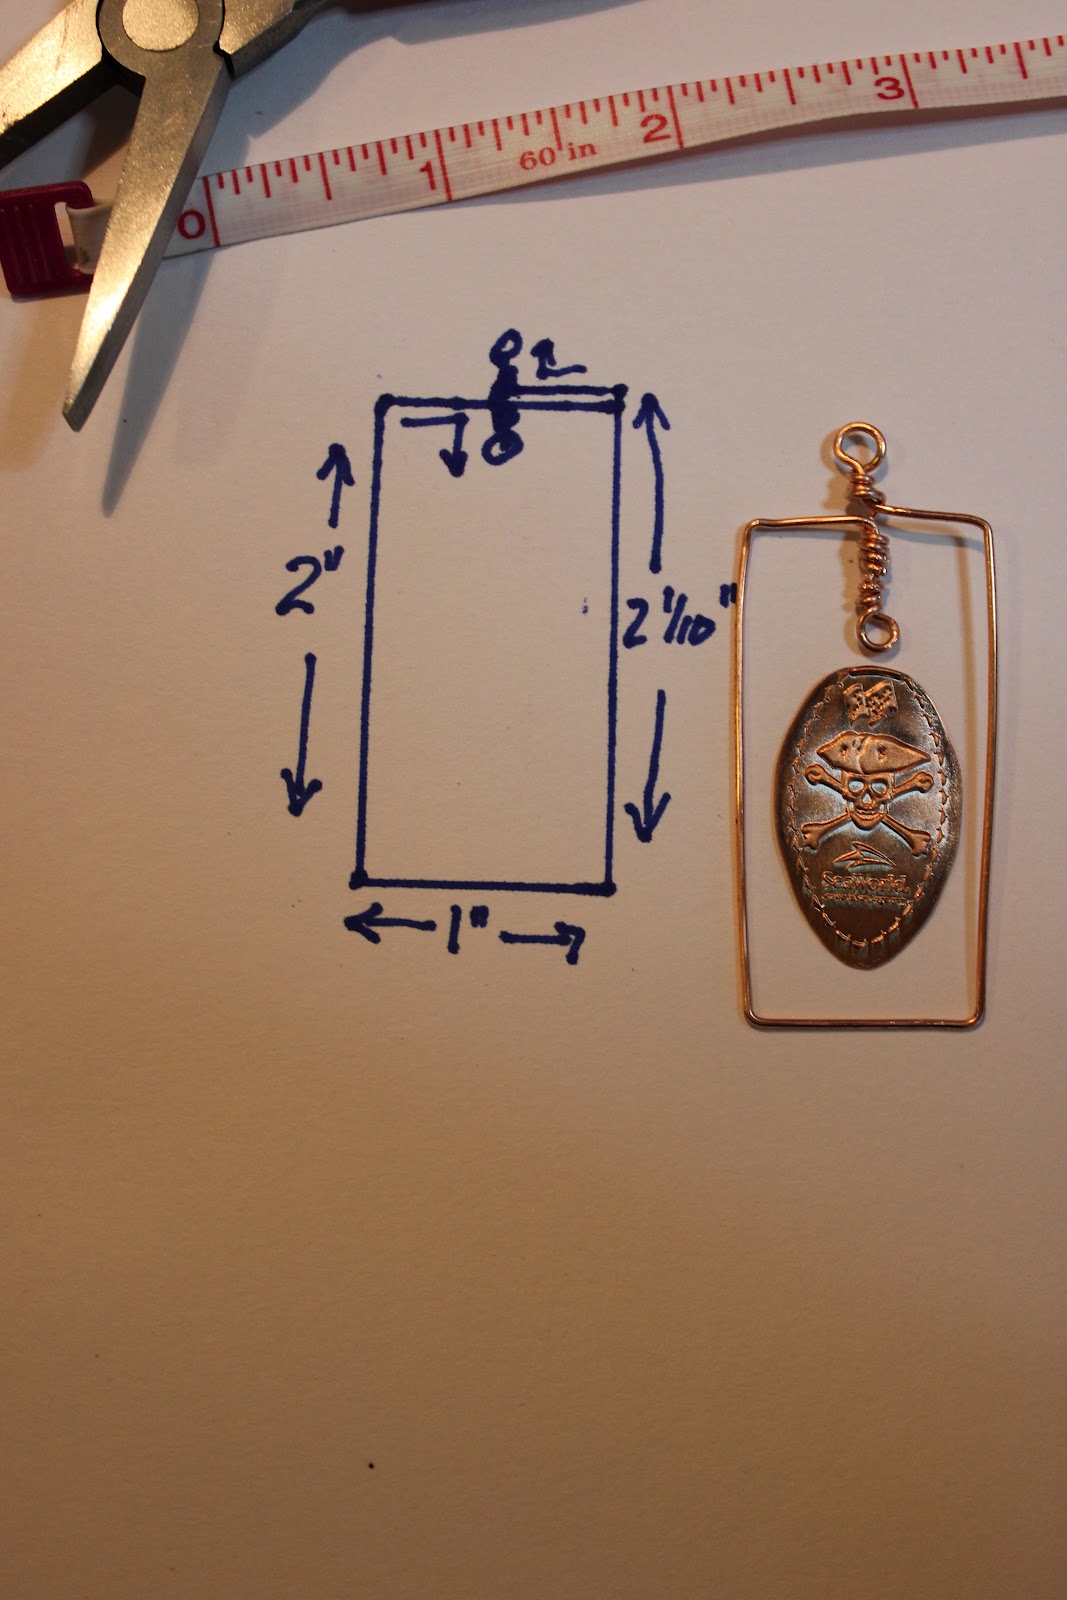
My bestest bud took a trip with her niece and family to Sea World not too long ago and got one of those smashed penny prizes.  She showed it to me and I told her I could make a necklace for her if she wanted.  Strangely enough, she let me have the penny (eeeeeevil grin!)

So, here it is, from design concept to finish.

design idea to begin
(why keeping sketch book in purse is good!)

checking the size of the smooshed penny to the drawn frame

1st measurements

revised measurements

Final incarnation
(I won't freak you out with the 1st incarnation ~shudder~)

Close up of penny in it's frame with the adjustment
of it's own little black "pearl" instead of the crystal dangle

playing around, a metal frame from the measurements

side view

finished frame ~ wrapped in wire with
aqua crystals (trust me, they're aqua!)
the wire wrap thru the two loops on the
bottom keeps the frame together. The
crystal on the bottom is also a dangle
instead of being wired to it.

Friday, April 6, 2012

PICMONKEY.COM ~ It's A Love/Hate Relationship

Yes, it really is.  The "love" part of the relationship is because it's so FUN to play with all the effects they have available to take your photos to another dimension entirely.

The "hate" part of the relationship is because, like with any new "toy," I lose myself in playing and comPLETEly forget the time.  I can get caught up after midnight playing around!

Anyway, I have a few pics I've played with over the last few days so you can see a little bit of what you can do at PicMonkey with yours.


Soft white effect around edges
Also added a little color saturation
to bring out the yellows without
going crazy


The Cinerama effect (doll, isn't she?)


This one I slightly over-saturated the color then used
the Lomo effect


This one I used the pixel (reverse) focus to do a little
editing, 1st, then went to the newest effects and added
the Paint/Red effect and used the "Add" under the
Blend Mode. The pic was already black & white so
this kept it from getting too "heavy" and dark. I, personally,
think the "blood runs" look cool with this "dangerous" (HA!) group.


Old Time Circuit Riding Preacher
or
Someone's very handsome father?
Used the Daguerrotype under the framing
section. You can change the the film effect
to "recolor" it, too.

The 3 Amigas!  Are they beauties from the past? Only the
photographer knows for sure! (love that daguerrotype!)
Well, sorry no jewelry-related eye-candy, but it's fun seeing what PicMonkey will let you do. Have a go!

Monday, April 2, 2012

WE HAVE A WINNAH!

Well, okay, we have three winners.  Since I only had three lovely ladies interested in my March Madness Contest, ALL THREE will receive some lovely wine tabs to play with and attempt to mix into jewelry in some creative way:
Therese of Therese's Treasures
Pine Ridge Treasures
Sarah from String A Song of Sixpence (LOVE that name! of course, now I'm thinking of the nursery rhyme!)

Ladies, if you'll contact me with your mailing addresses, I'll get the prizes out to you in the next day or two, here (depending on how fast you reply! ~hee~)

Enjoy!

Monday, March 26, 2012

Pantone Spring ~ Copper Candy Twist

I only had a little time to play with my beads and wires this weekend and that was on Friday night.  And that wasn't even until late in the evening!  Oh, well, I got to play!  Anyway,  I decided to play with two of the colors in Patone's list of what's going to be "hot" this spring and to use copper wire to bring it all together. I don't know why copper wire except the beads themselves seemed to just beg for it.  They whispered insistently in my head that copper wire was the way to go! (don't look at me like that! you know you ALL have beady little voices whispering to you, too, or you wouldn't be here!)

ANYway, this is what I made Friday night in a fit of creativity: (and, yes, I decided to keep these for myself. LOVE the color mix more than I tho't I would and it's my first real wire work of any kind! eeeeeesoproudpatsselfonback)

Copper Candy Twist ~ the light orange
beads are a tiger's eye sort of bead (not
real tiger's eye, but that sort of "movement"
in the bead) It's a little richer than the lighting
makes it look.

Played with the copper wire (also a deeper tone
than the lighting makes it seem) and did some
(semi-) serious twisting. This is the back of it. I
like that I can still see the beads if the necklace
gets twisted around this way.


The front ~ (do I have to mention the lighting
again? plus, it's taken with an iPhone)

connector between the dangle/focal and
the necklace. (honest! the colors are a little
richer than this!)
I kept the same colors (the tubes were a dark
orange) and pattern throughout

Matching earrings

close-up of one

Monday, March 19, 2012

Don't Forget ... Personal March Madness! :)

Don't forget, folks, I have a contest going on for the month of March. You only have two weeks left to participate then I'm drawing the winners.  Go here to join in and be entered in the drawing!
Click on the above link to see what this might be...... :)

Monday, March 12, 2012

Spring Challenge by Michelle Mach

To Enter My March Contest, go HERE:

Well, I joined Michelle's challenge again. Maybe it's because I suddenly like blue. Or maybe I just can't resist the shiny (I've mentioned my ADOS before).  Whatever the reason, I bought the bracelet she dared us to remake.  As always, I forgot to take the before picture, so I went back to her site and stole the original pic from her:


I had no real trouble using the crystals but, for some reason, couldn't come up with a way to use the silver spacers so they're tucked into my stash to await the perfect reworked job.  Until then, here are my two contributions to the challenge:

I started with a lanyard (instead of a regular necklace)
It's titled "Hot Spring" and is for sale in my Etsy store

I used the yellow dyed agate for Spina Bifida Awareness
and the cross to remind us to have faith in God's plans for our lives

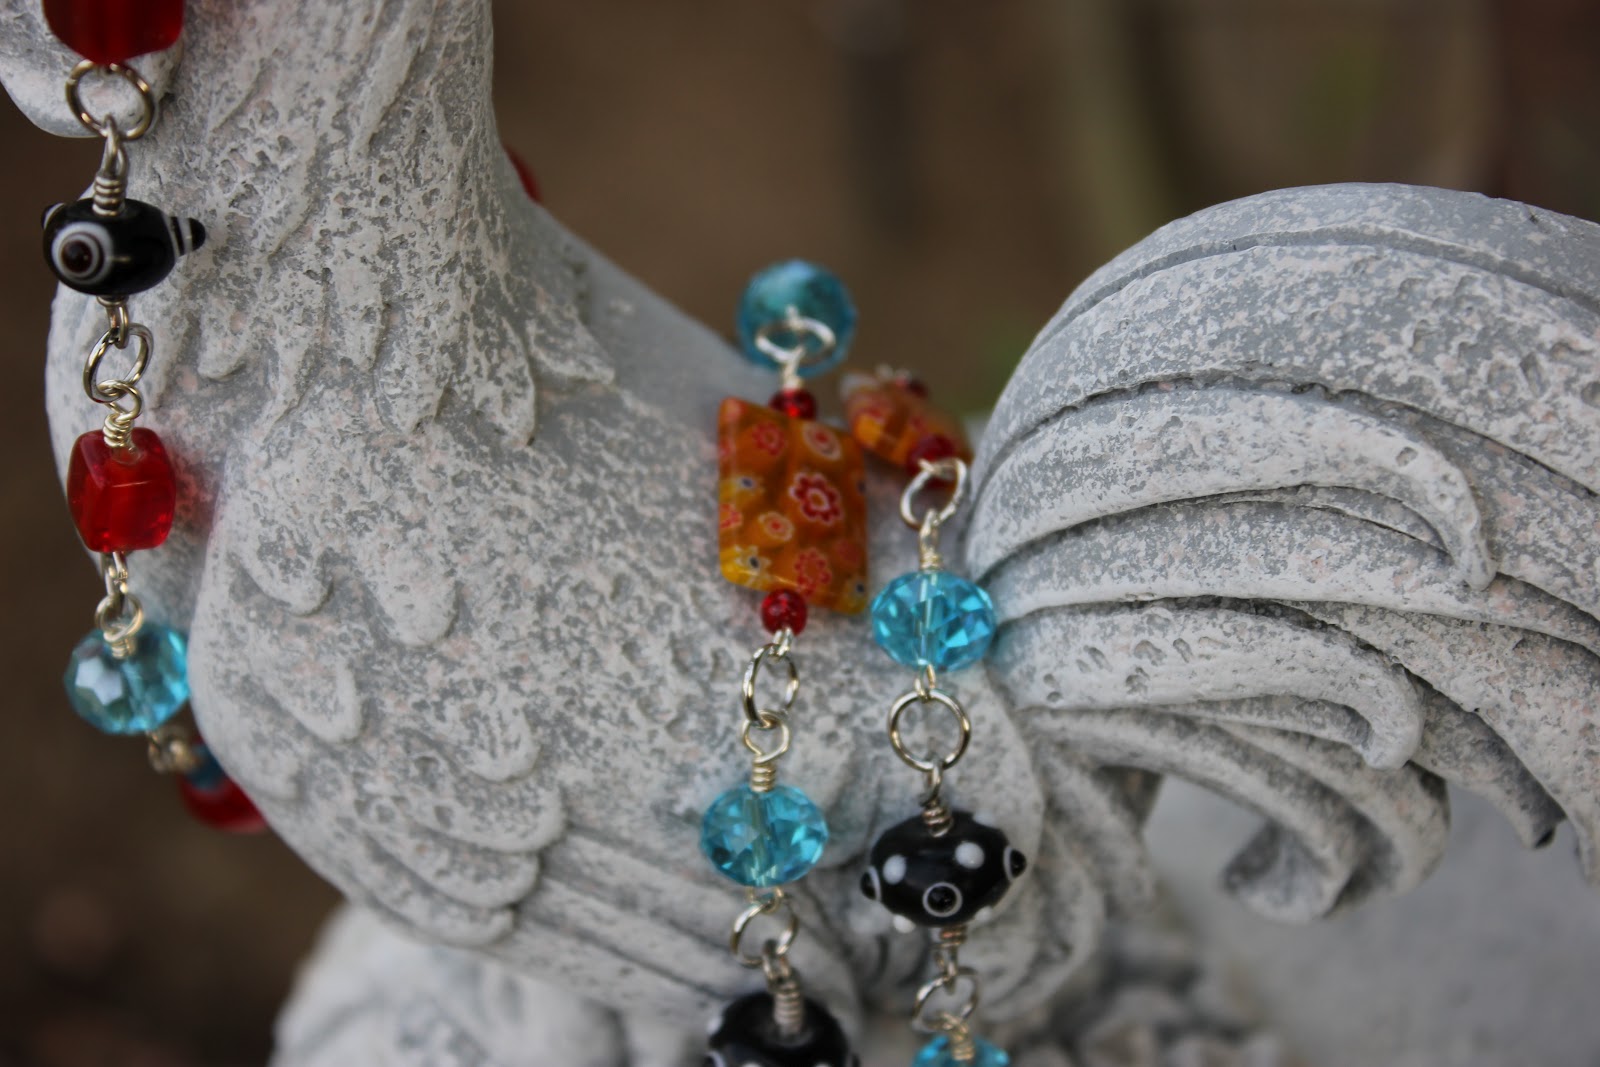
Red glass beads, red & yellow millifiore glass rectangles and
black lampwork with white and purple dots accent the blue
crystal rondelles from Michelle's challenge.

This one I used gunmetal links and wire as well as yellow
fritted lampwork beads and green dyed agate that reminded
me of a Japanese painting whose colors ran together.
Yellow dyed agate finishes the bracelet
at either end. This piece isn't titled, yet,
but will be in my shop soon also under
the Spina Bifida line.


And here are the others participating in the hop.  Don't forget to check out what they've done, too!
Michelle - Beads & Books [Hostess]

Andrew - The Writing & Art of Andrew Thornton

Christa - Adventures of One Beady Woman

Dita - Alankarshilpa

Donetta - Simply Gorgeous

Erin - Erin Siegel Jewelry

Heather - As I Bead It

Jean - Snap Out of It Jean - There's Beading to Be Done!

Karen - Over the Moon Design

Kate - We Can Make That At Home

Kay - Palm Coast Art

Kim - CianciBlue

Kristina - Wild Roses and Blackberries

Linda - Lindy's Designs

Lisa - Pine Ridge Treasures

Marlene - Amazing Designs by Marlene

Michelle - Reverie & Revival

Pam - The Crazy Creative Corner  ~ you are here

Pamela - Someday Beads
Renetha - Lamplight Crafts

Sharyl - Catchenthesun

Terry - Pink Chapeau Vintage Jewelry

Therese - Therese's Treasures

Saturday, March 10, 2012

Playing In Mom's Back Yard

(to enter my March Contest go HERE:)

I love my new camera (the one mentioned right after Christmas?).  I took it when we went with our school to the Ronald Reagan Library and, while you can take pics in the Library, you can't use flash.  I have a setting for this on my new Canon Tsi Rebel.  It gathers whatever ambient light there is and enhances it. Take a short peek:
In the hallway outside the reproduction of the Oval Office
I loved ol' Reagan. (very, very dim light.)

A sobering reminder (even tho' it was after Regan)
Never, ever forget.
Guess what this portrait is made from?
Hint: Reagan *loved* them!
That's right, 10,000 Jelly Bellys!
And now, some pics from my mother's back yard: (I used the bigger lens from the patio):

Lemon Tree Birdhouse
Rustic Pedestal
only glad this rooster doesn't crow!
So, that's it for today.  I'll be back later with my pics for Michelle Mach's Blog Hop this Tuesday. She challenged us to reuse a bead bracelet of beautiful teal crystal rondelles and crystal spacers.  I managed to use the rondelles but not the spacers. I'll be saving those for something else.

Have a great rest of the weekend.

Oh, p.s., go here to read Cindy of Sweet Bead Studio's blog about a new pic-editing web-site called PicMonkey (heee... monkeys!)  Anyway, I loved it.  Between it and Windows Live Photo Editing I'm going to have a lot of fun with my pictures.

Thursday, March 8, 2012

POCKET SALES or How To Have A Mini-Show

I was wanting to find a way to advertise the lanyards I'm working on and a friend of mine is selling at her office for me and I didn't want it to be something bulky or space consuming.  What to do, what to do?

Then the Idea Fairy bashed me over the head with her stick waved her wand over my head and the light dawned!  Digital Photo Frames!!  I could get one, load an SD card with pics of my wares (even my necklaces & earrings!) and Witchie-Poo (the friend I mentioned) could set it on her desk for their viewing pleasure (and, hopefully, buying pleasure!). 

Then I tho't (swiftly ducking that stick wand as it swung at me a 2nd time) it would be a grand idea to be able to carry my wares wherever I go.  Except, that's a lot bulky!  Even carrying a Digital Photo Frame is bulky (and you tend to get strange looks from passersby).  So I went on Amazon.com and plugged in "Digital Photo Frames" (pun fully intended!) and up came all sorts of great answers.  Below are pics of the two answers I bought.  The first one, by Coby, holds more pics (160) than the 2nd one by Micca (60-70) so I'm going to be doing a swap after I edit a few more pics.

Now, you may have to do some cropping, these screens are only 2.4" each so it only fits so much of the shot in.  Group your items and don't go too macro on them or you'll be cropping out a lot of what you're trying to show. And make sure that grouping includes any text you add to the picture (like the price and title of the piece).  But, these puppies fit great in a purse or pocket and you can whip them out to show someone if you're discussing your jewelry making and they mention they'd like to see what you do.  I mean, a business card with your web addy is fine, but how often do they get dropped in a purse and forgotten or even lost?  Give 'em the card, by all means, but this is a great little advertising tool we could all adapt for those "What kind of jewelry do you make?" moments where it's easier to show than tell. 

And it will make a much more lasting impression.

The Coby Digital 2.4" Photo Album

Has a stand to rest on, side, back, or upright

Easy to use, pics can go vertical or horizontal

Micca 2.4" screen Digital Album

Only holds 60 or so pics but they're very clear

Vertical or Horizontal direction -
more of a wallet style than a desktop model

Sunday, March 4, 2012

LITTLE BIT BUSY WEEKEND

So, I finally got my hands into my poly-clay!  I'm a little bit of a nervous nelly so I started off with the box of "starter" clays Saner Sister bought for my B-day back in January (yes, I know... don't ask how long the other clays have been sitting around, waiting for me to open them!)  ANYway, I opened these little packets of clay about 3"x2" and, taking a deep breath, cut a small portion from three; red, olive green (both visible in saran wrap) and a sparkly gold (not in view). These were either a little old or not from good stock so I had to put a few drops of clay softener on them but, after that, and a few (okay, LOT) of runs thru the pasta machine, they came out usable.  I made 5 beads that were a mix of the red, green and gold with the red dominating (I forgot to take pics after baking and before making a necklace).  I also made several petal shaped cut outs of marbled pink and black. That mix was an accident but a happy one! (no pics of that one, yet). 
Anyway, here's the necklace and earrings I made from the beads.  The flower is from another necklace I bought recently but couldn't wear (I love repurposing!) and the green rounds are from Michael's.  The earrings are hanging from the necklace to your right.  I decided to go for a slightly Oriental look with this design, hence the chain dangles below the earrings and the bead under the flower. I wish the shot showed the colors better in the larger red beads, but the earrings show the gold pretty well. The green and gold turned into accents after several turns thru the pasta machine.  I showed Saner Sister, because I was so tickled by what I'd done, and she said how it would go SO well with the outfit she was wearing for church on Sunday. (sigh) Well, I haven't made her any jewelry in awhile, so I let her have it.

Now, about the wineglass tabs I mentioned in my last post, here's a few shots:
octopi at the bottom right, bowl shapes in the center
word tabs, bead flowers
the word tabs.. I call them "flirts" (heee)
The octopus gang! Only have one of each of
these so they'll likely end up as charms.
flower beads
Glass bowls

My use of the blue glass bowls as shown in a previous post

So, here's the contest... give me YOUR ideas of how you would use these in jewelry.  You have until the last day of March to enter and then (depending on the how many people reply) I'll put the names into a hat and draw two winners who will be sent a bead soup of these items to use, whether in the design you mentioned or in another way. 

 Get designing!